Page Updated 21/03/10
|
Instructions on how to make a Sleep Sack Hammock 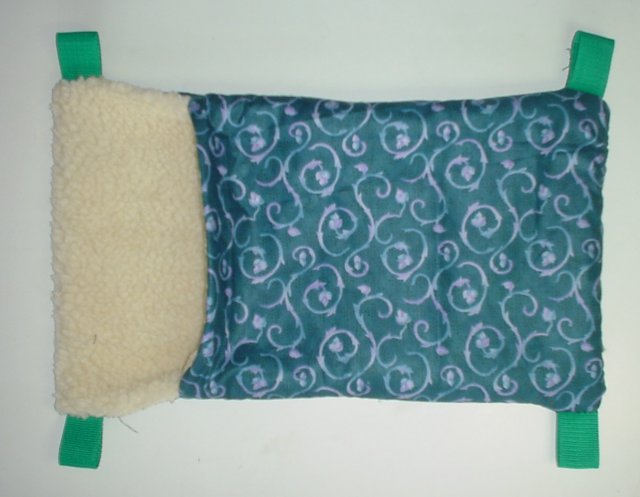
Cut 4 pieces of material, 2 pieces for the outside, and 2 pieces for the lining. 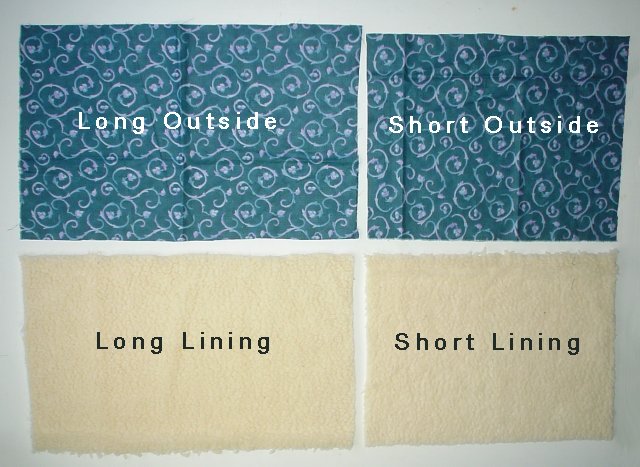
You can choose your own dimensions; I used 1 "short lining" and one matching "short outside" of 16 x 12 inches, and a "long lining" and "long outside" of 20 x 12 inches. Step 1, Place the pieces of "short lining" and "short outside" fabrics, face sides together, and Stitch one of the 12 inch edges together. This will be the "Hammock Top" 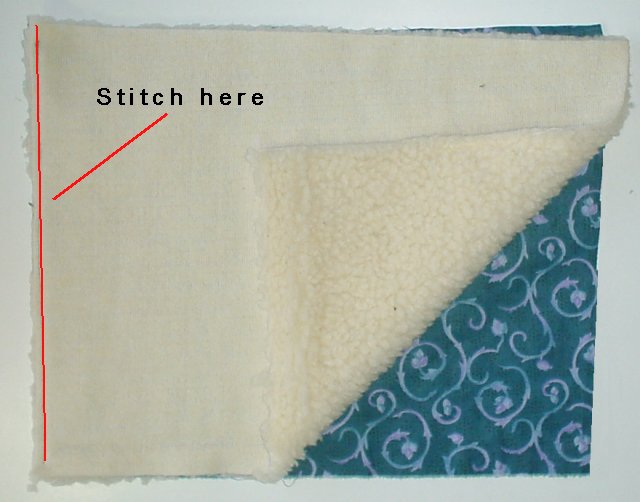
Step 2, Place the pieces of "long lining" and "long outside" fabrics, face sides together, and Stitch one of the 12 inch edges together. This will be the "Hammock Bottom". Step 3, Turn the smaller "hammock top", so the seam you have just sewn is now on the inside, creating a nice edge, and the face of the material is showing. Step 4, place the smaller "hammock top" between the larger "hammock bottom", so that the un-sewn 12 inch edges line up. The "outside" faces of the Fabic should be together, and the "inside" faces of the fabric should also be together. 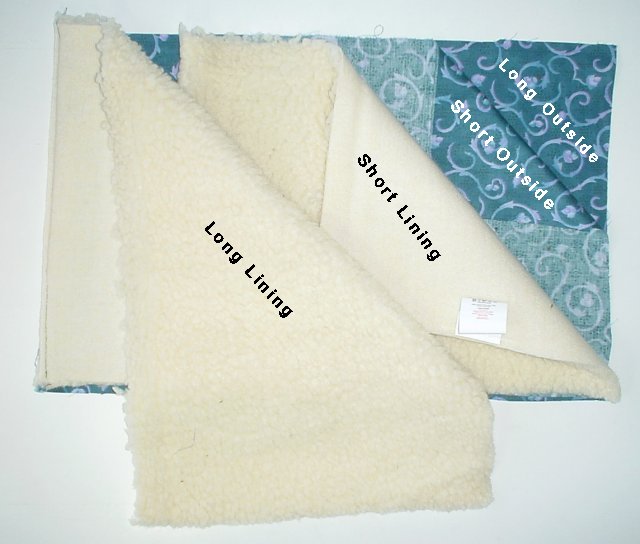
If correct, you should have a layer of 4 pieces of Fabric, which starting from the top, should be in this order. Wrong side of "large lining" face side of "small lining" wrong side of "small outside" face side of "long outside" Step 5, Stitch the 12 inch side of the "small and long outsides" together. 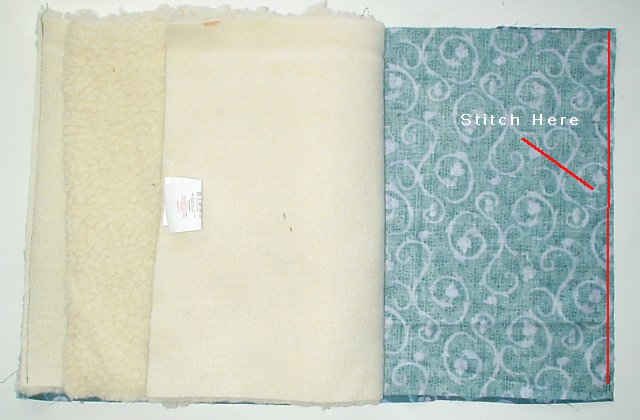
Step 6, Make the Hangers, I used Nylon Webbing, as we use Carabina's to hang the hammocks in the cages. This makes them a lot quieter to wash and dry. Some people use folded and sewn material loops, again either with or with out the hanging clips. 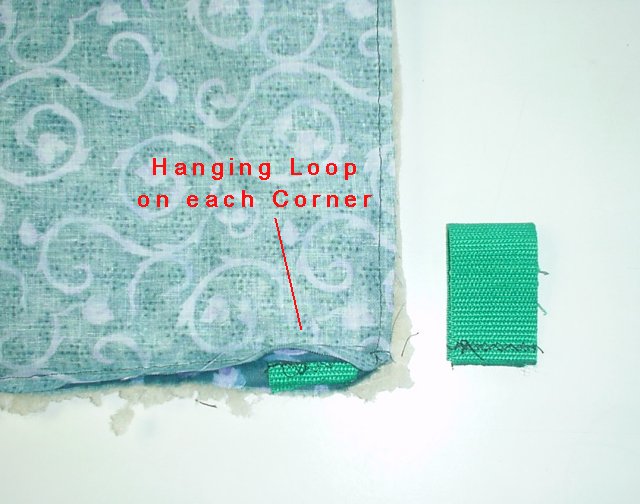
Step 7, place the hangers between the two layers of "outer" fabric, but facing inside the material. Make sure you are about 1/4 to 1/2 an inch away from the already sewn edges. Step 8, Stitch down both the long edges, making sure you get all 4 fabric edges, and the hangers. Personally, I do this twice, and do several passes across the hangers to make sure they are well attached. Step 9, Turn the Hammock inside out, from between the 2 "linings". If correct, you should have fabric that will become the lining, on the outside at this point. 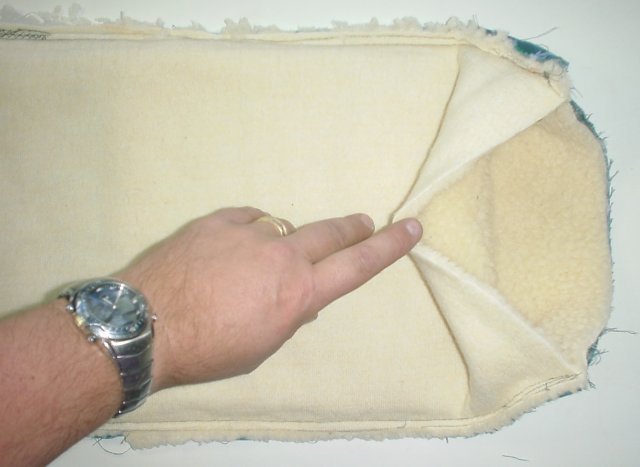
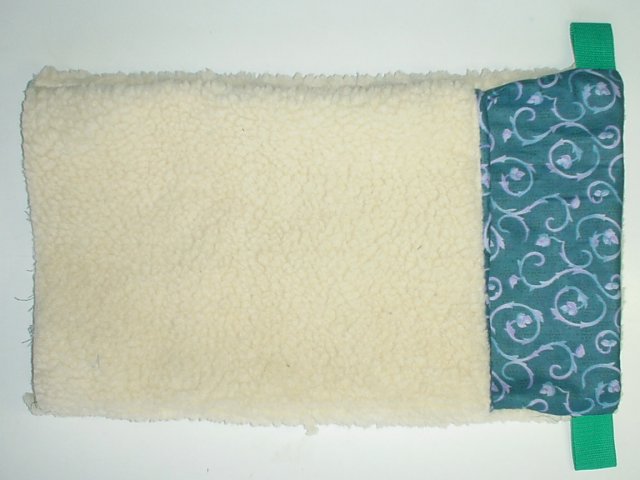
Step 10, push the sewn "outside" edge of the fabric back inside the "lining" a bit, to get it out of the way, and then stitch the two "lining" edges together. 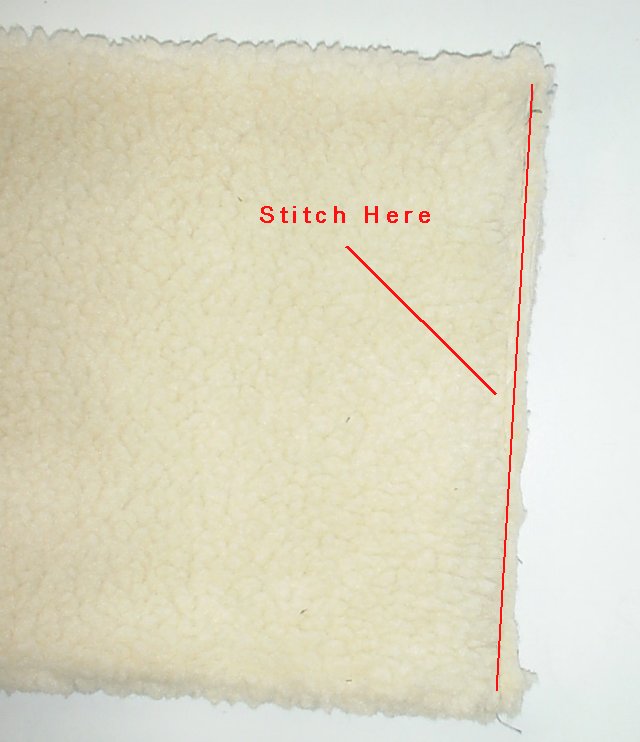
Step 11, turn the Hammock in the right way. 
|
Website and contents © Clive and Suzanne Slade 2010 © ....Contact webmaster@lazy-ferret.co.uk